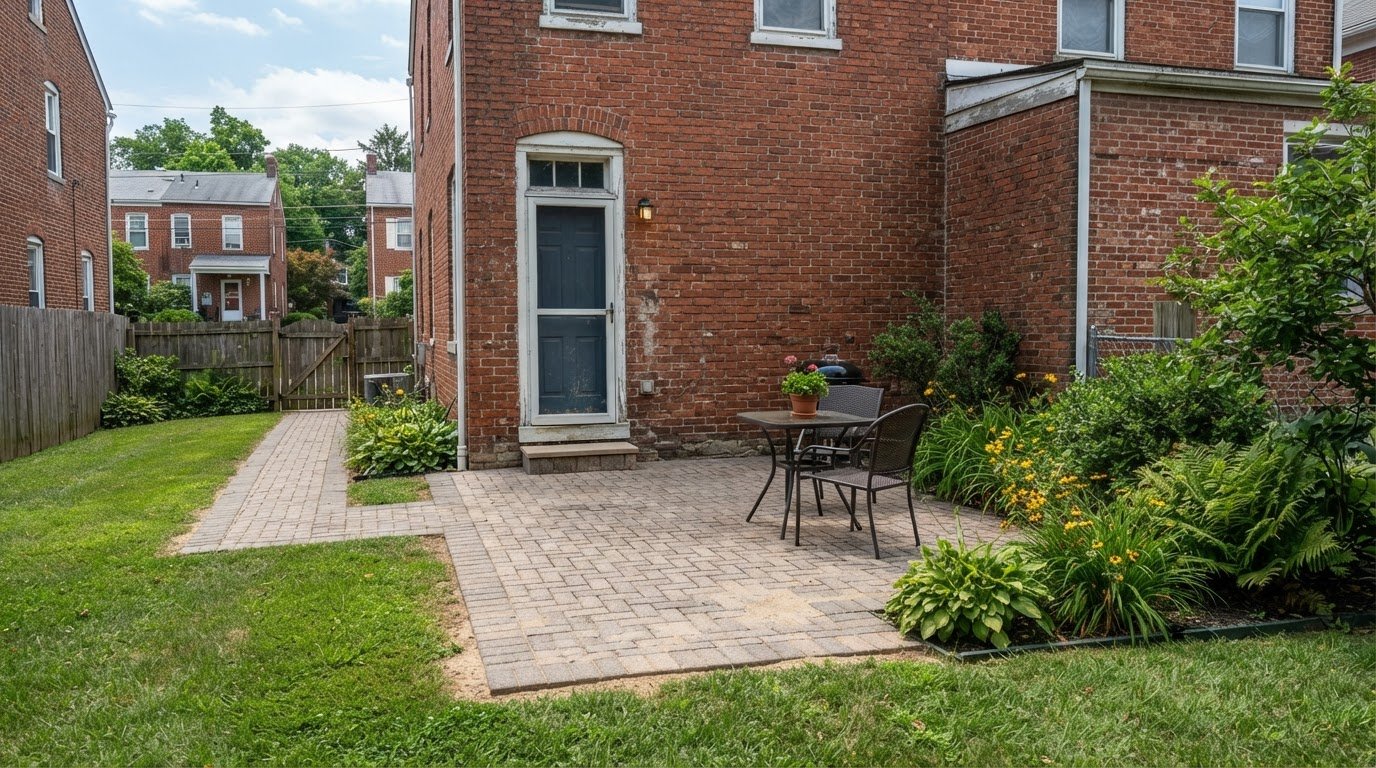

A shed base concrete pad installation in Columbia, PA usually takes 1-2 days of on-site work, from excavation through pouring and finishing. The shed should wait at least 7 days after the concrete is finished before delivery, giving the pad time to cure.
The pour is only one part of the schedule. Site access, ground preparation, drainage planning, utility marking, and reinforcement all affect the work. Plan for each step rather than treating the pour as the entire project.
This guide explains what happens before and during construction, why a level, well-drained base matters, and how reinforcement contributes to a durable shed pad. You’ll also learn what to consider with permits and underground utilities, and how curing affects the schedule. With these details, you can set a practical timeline and understand the decisions that help keep the finished foundation stable and ready for your shed.
How Long Does It Take to Install a Concrete Shed Foundation?
On-site concrete shed pad work, from excavation through pouring and finishing, usually takes 1-2 days. That is not the full schedule: allow at least 7 days after finishing before shed delivery. A slab can often be walked on within 24-48 hours, but walking on it does not mean it is ready for a shed.
Foundation type changes the work. A gravel base can often be completed in a single day, while concrete needs placement and curing time. Pier foundations support selected points rather than a continuous slab. Concrete piers are available in sizes from 12 to 36 inches, while a post platform uses holes 32-42 inches deep. The right choice depends on the shed’s support needs and the shape of the yard.
For a gravel foundation, prepare and level the ground, then contain the stone with a pressure-treated perimeter frame. A typical stone pad uses ¾-inch clean crushed stone, not pea gravel or river stone. Plan for 10% more stone than the calculated quantity to account for compaction. Keep the surface firm and even so the shed has consistent support. For a concrete slab, the U.S. Environmental Protection Agency describes a 4-inch layer of clean, coarse gravel beneath the slab. This base layer supports drainage below the concrete.
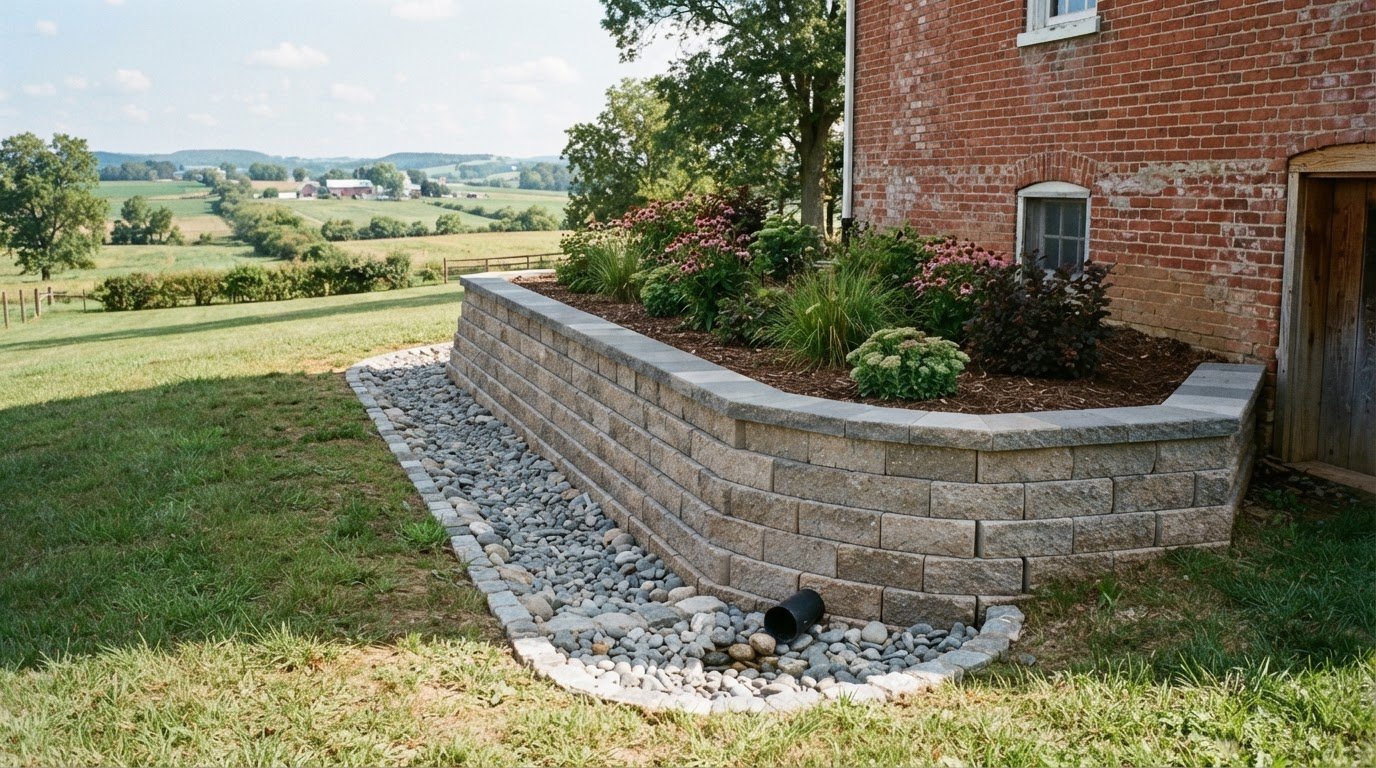
Water needs a clear route away from either foundation. Shape the surrounding grade so runoff doesn’t collect beside the shed, and give the concrete pad a slope that directs water away. On a sloped or uneven yard, simply pouring a thicker slab over the high and low spots won’t correct unstable support. The site may need grading or a retaining structure to create a stable, level building area. A properly planned retaining wall can help manage a grade change while keeping soil in place.
Choose a contractor based on the work plan, not just the pour date. The scope should explain how excavation, base preparation, compaction, reinforcement, drainage, and finishing fit together. Ask how the crew will establish a level footprint and keep water from pooling around the pad. For concrete, reinforcement may use rebar or wire mesh, and a 4-inch-thick pad is a common standard for storage sheds. Confirm that the schedule includes curing before delivery, not merely the days spent on site. Clear sequencing makes it easier to coordinate shed placement and avoid loading fresh concrete too soon.
Water drainage and splash protection
Plan drainage before marking out the shed footprint. A well-drained site helps reduce standing water beneath the building and runoff collecting against the foundation. Walk the area after rainfall and note where water flows or pools, including whether the proposed pad sits in a low spot. Account for these paths during site preparation, before excavation begins. If the ground slopes toward the shed, grading can redirect surface water away from the walls.
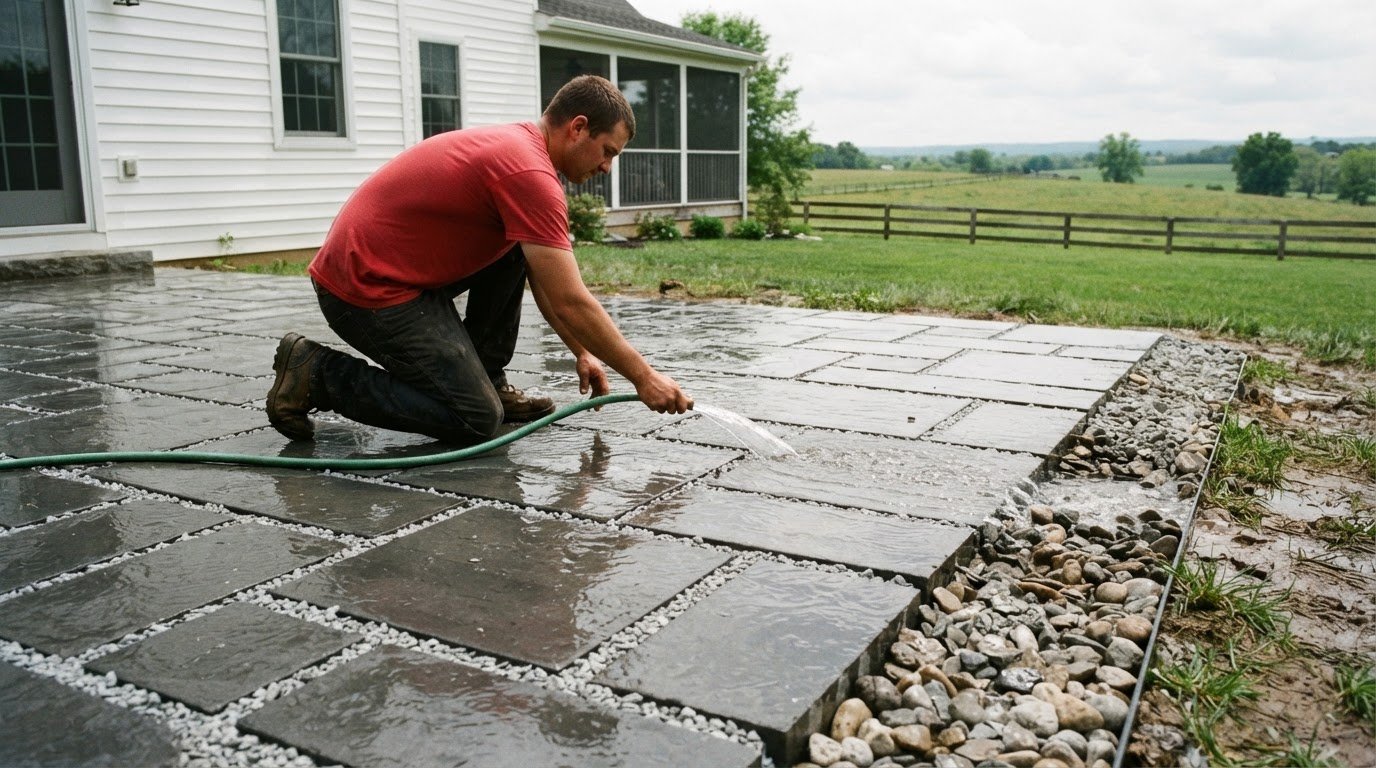
Shape the finished concrete surface to direct water away from the shed. A pad that looks flat can still hold puddles if the finish has low spots, so the surface should be checked during placement. The Environmental Protection Agency gives an example of a storage shed whose floor slabs were pitched to drain toward the doorways. This example illustrates why drainage direction needs to suit the shed layout. Keep the entrance usable while directing water away from the building and its foundation.
Protect the base from roof runoff and splashback. A gravel perimeter extending 12 inches around the shed creates a drainage zone where water can disperse instead of splashing directly onto lower walls. Keep that strip clear of soil, leaves, and dense planting that could obstruct flow. Where a downspout discharges nearby, direct its outlet away from the pad so concentrated runoff doesn’t wash out the edge or saturate the surrounding ground.
Compaction supports stability, but the prepared ground must still allow water to drain away from the pad. Remove soft or disturbed material from the footprint and build a firm base in even layers. Compact each layer consistently, then check that the surface drains rather than forming a basin. On a sloped yard, grading may need to create a stable work area and a separate path for runoff. Avoid directing water toward a neighboring property or another structure.
Site access also affects drainage work. Plan a clear route for excavation equipment and materials without blocking the area needed to shape the grade or move runoff. Keep the shed entrance, maintenance path, and discharge route in view together; a drainage feature shouldn’t leave the doorway muddy or difficult to reach. For a site where water flow and pad placement need to be coordinated, discuss your shed-pad drainage plan before construction begins.
Site evaluation, preparation, and excavation
Good preparation starts with matching the shed footprint to the yard, access route, and ground conditions. These checks guide excavation, pad dimensions, and the finished foundation.
Evaluating and Excavating the Site
Evaluate the proposed footprint for slope, soft soil, existing structures, and equipment access. A low area can collect water, while uneven ground can leave the shed without consistent support. Mark the pad boundaries before excavation, then strip 4-6 inches of topsoil within the staked area. Level the exposed soil to within 2 inches across the footprint before building the base.
Planning Pad Dimensions
Size the pad from the shed’s actual dimensions, allowing 12 inches beyond the building on every side. For a 10×12 storage shed, that creates a 12×14 stone pad, requiring about 3.1 cubic yards of stone at a depth of 4-5 inches. A 12×24 structure calls for a 14×26 pad, with about 6.7 cubic yards at 5-6 inches deep. Keep 2-3 feet clear around the shed for maintenance access.
Professional Site Preparation
Professional site preparation coordinates excavation, grading, base placement, and compaction in sequence. Each step affects the next: loose soil beneath the base can shift, while poor grading can direct water toward the foundation. Establish the pad location, remove unsuitable material, and create a consistent surface before placing stone or concrete. Defining the work area also helps keep equipment access clear.
For a larger example, a 14×28 shed needs a 16×30 pad, with about 8.9 cubic yards of stone at 6 inches deep. These dimensions let the stone extend beyond the walls, supporting the building’s footprint and creating a defined edge. The added area also needs to fit the yard without blocking access or interrupting the site’s drainage path.
Before excavation, allow enough room to maneuver materials and equipment around the marked footprint. Check the building location against nearby fences, trees, and structures. Excavate evenly rather than following small dips in the surface. Once the exposed soil is level, place and compact the base material consistently. This sequence creates a stable bearing surface for the shed and keeps the pad dimensions aligned with the planned layout.
Solid concrete blocks measuring 8″ × 16″ × 4″ are recommended for block site preparation. A Site Prep customer reported the company prepared a pad for a 14x12 shed. Site Prep installers confirmed pad location with customers before breaking ground. A 10 x 16 shed needs a 12 x 18 pad.
Permits, local requirements, and underground utilities
Before excavation, coordinate utility marking and any local reviews for the proposed shed location. Completing these checks first can help prevent delays after materials arrive or digging begins.
Checking Underground Utilities
Call 811 a few days before concrete pad installation so underground utility lines can be marked. Keep the marked areas visible while planning the pad footprint and equipment route. This step matters even when the surface appears clear: buried lines aren’t always obvious from above. Set the excavation limits around the markings, and avoid moving or covering them before the work area is reviewed.
Reviewing Zoning and Setbacks
Use the shed’s planned dimensions and location to review local zoning and setback requirements. Property lines, nearby structures, and the intended storage use can all affect where a shed may fit. Keep the site plan, pad dimensions, and access route consistent. If the location changes after this review, reassess it before excavation instead of shifting the foundation mid-project.
Checking Local Permit Requirements
Permit requirements depend on the municipality and project details, so review local rules before construction. Some municipalities require cement pillars, with or without tie-downs, and specify their number and placement. Include those details in the foundation plan before scheduling the work. If the plan uses blocks or another support method, ensure the layout reflects the foundation that will actually be built.
Keep utility markings, the site layout, and local requirements aligned. A plan showing one pad location cannot guide excavation accurately if the work area has moved. Before digging, compare the footprint with the marked utilities and intended shed position. This coordination helps prevent conflicts with buried lines and gives the crew a clear excavation boundary.
Complete administrative and site checks before ordering or delivering concrete. This allows time to adjust the layout if utility markings or local requirements affect placement. For example, a required pillar location may change the support plan, while a setback review may require moving the shed footprint. Resolve these details before completing the pad, not after the concrete is placed.
Keep the final plan accessible during construction. It should show the shed footprint, pad outline, utility markings, and any required pillars or tie-downs. The crew can then follow one consistent layout from excavation through completion. Clear documentation also helps coordinate delivery, so the shed can be placed in the planned location without last-minute adjustments.
Concrete pad construction and reinforcement
Prepare a firm gravel base, set a square form, place reinforcement, pour, and finish the slab. Choose the mix and reinforcement to suit the shed’s intended load, then allow the concrete to cure before installation.
A concrete shed base is typically 4 to 6 inches thick. A 4-inch pad is presented as standard for most storage sheds; heavier equipment can call for a thicker slab. Clean, coarse gravel beneath the concrete supports the base, while rebar or wire mesh can reinforce the slab.
Building the Concrete Pad
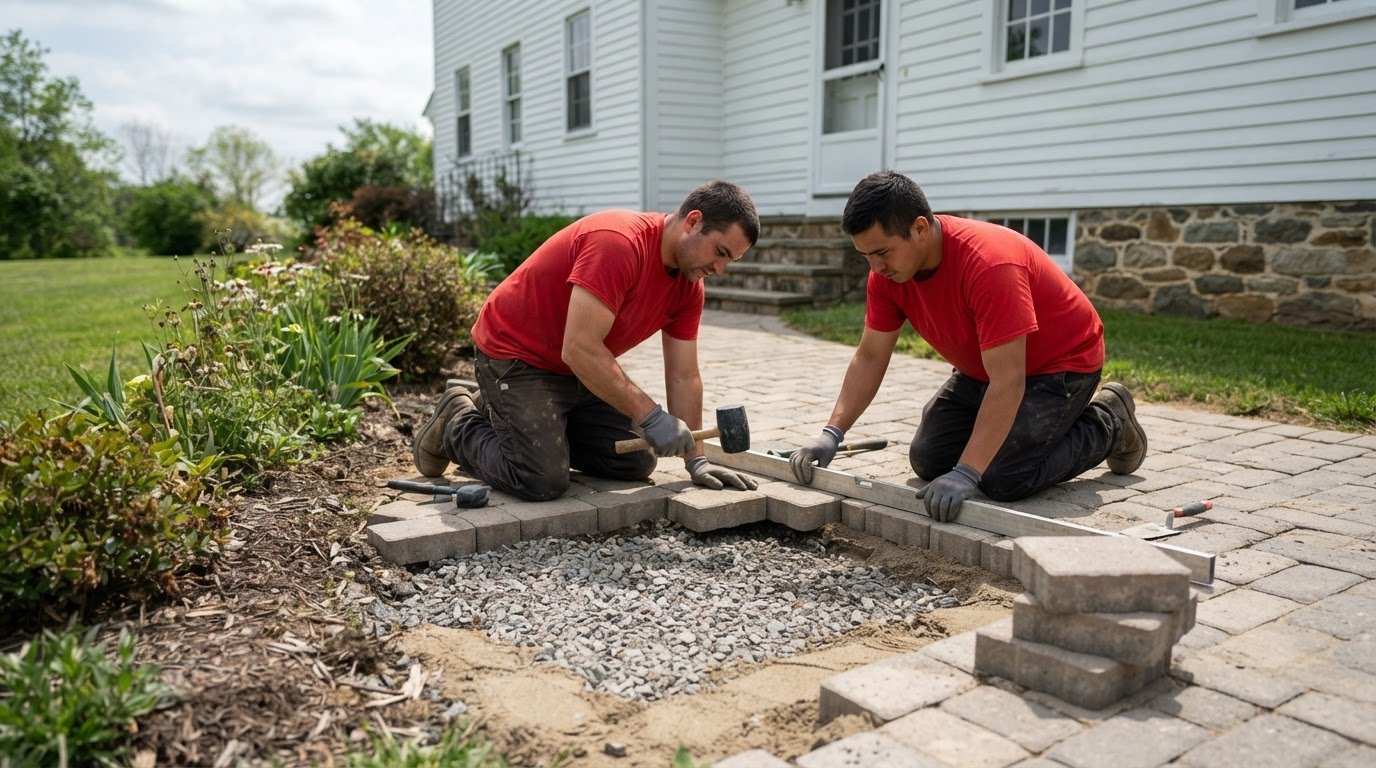
Set the form straight and square before concrete placement. The pad should be poured ½ inch smaller than the building dimensions, leaving the shed’s perimeter aligned with the slab. A level surface supports stable placement, but the finish should still direct water away. Check the surface with a 4-foot level on a straight board, and correct dips before the concrete sets.
For a shed attached directly to the slab, the described design includes a 4-inch reinforced curb. Treated plates belong around the pad perimeter and should be fastened to the concrete with approved anchors or bolts. These details connect the shed to the foundation instead of leaving its edges unsupported.
Selecting Mix and Reinforcement
Match the concrete mix to the slab design and the load the shed will carry. A standard 4-inch thickness suits most storage sheds, while a 5-inch pad is recommended for a shed storing a lawn tractor, car, or other heavy-duty equipment. Reinforcement can include rebar or wire mesh. Its placement should follow the slab plan, not sit loosely on the gravel.
Keep reinforcement positioned within the slab as the concrete is placed. An uneven or misplaced grid may not reinforce the pad as intended. A thicker design may suit heavier use, but the load and support conditions should guide that decision.
Preparing the Gravel Base
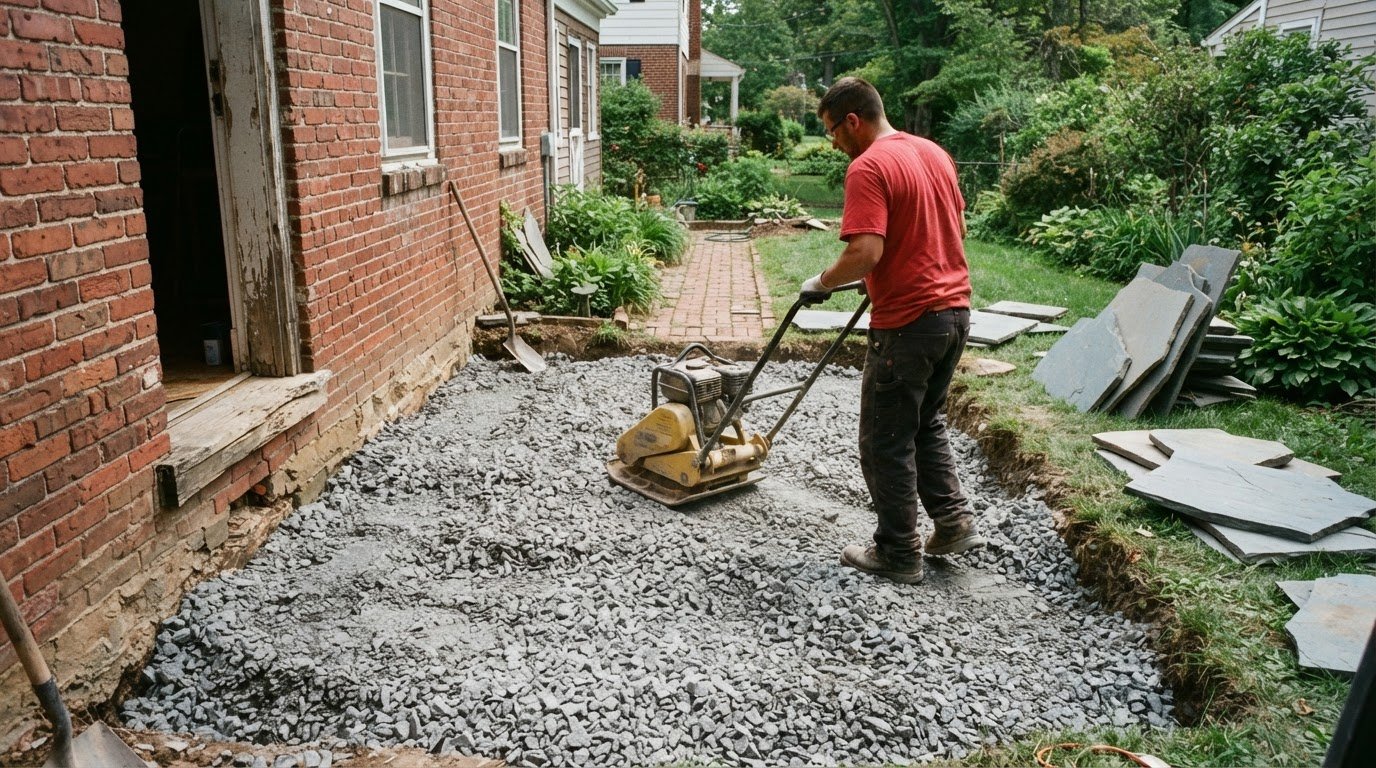
The U.S. Environmental Protection Agency describes a 4-inch layer of clean, coarse gravel beneath a concrete slab. Spread the gravel evenly, then compact it to create a firm base. Check the finished base for soft spots and uneven areas before setting forms. Correcting the base now helps prevent low spots from carrying through to the concrete surface.
Installing the Shed Base Step by Step
Use this sequence: prepare and compact the gravel, set square forms, position reinforcement, pour and finish the concrete, then allow it to cure fully. Keep the slab square and level, and check its surface with a straight board and 4-foot level. Wait until the concrete is fully cured before shed installation.
For a stable, correctly built concrete shed pad, contact Snappy Landscaping to discuss your project.
Snappy Landscaping: Concrete Pads & Walkways
Snappy Landscaping installs concrete pads and walkways for properties needing a stable, functional foundation. If your shed site needs coordinated pad construction, grading, or drainage planning, the work can bring these steps together around the layout and intended use.
Share the shed dimensions, planned location, and any site concerns, such as a slope or pooling water. This information helps shape a practical plan for the pad and surrounding area. Where the yard has a grade change, retaining wall construction may also help manage the site. The right approach depends on the property’s layout.
Ready to discuss a shed pad project? Contact Snappy Landscaping to talk through your site and next steps.
Plan the Next Step for Your Shed Site
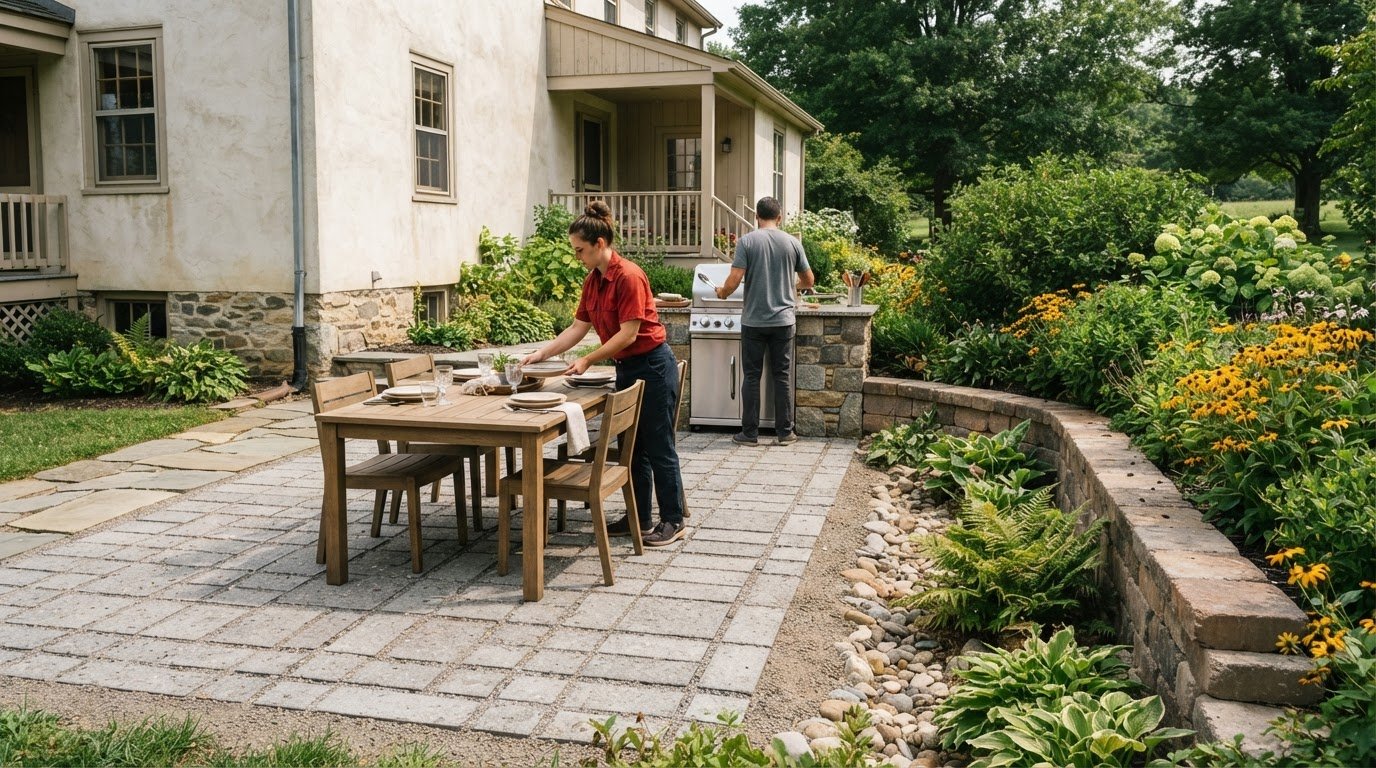
Use your site plan to turn research into a clear project scope. For shed base concrete pad installation in Columbia, PA, connect the shed’s intended placement with the surrounding yard. A grade change may call for retaining wall construction, and you can consider the finished area alongside future outdoor improvements.
Snappy Landscaping also offers custom patio installation and lawn mowing and maintenance. These services can support broader property plans, but the immediate priority is a pad suited to your shed and site conditions. Share the shed dimensions, preferred location, and any drainage or access concerns to give the project a practical starting point without unnecessary work.
Contact Snappy Landscaping to discuss your shed pad project and take the next step toward a well-planned space. Your storage plans can start with a clear, workable foundation.
Frequently Asked Questions
What Goes Into a Great Concrete Shed Pad?
A good concrete shed pad matches the building’s footprint, intended use, and site conditions. For shed base concrete pad installation in Columbia, PA, plan for stable support, water flow, and access to the entrance. Snappy Landscaping proudly serves Lancaster, Columbia, Mountville, Landisville, Manheim, Mount Joy, Lititz, Ephrata, East Petersburg, Elizabethtown, Leola, New Holland, Willow Street, Strasburg, Quarryville, Denver, Hempfield, East Hempfield, and West Hempfield, PA. The team is licensed and insured, and background-checked.
What size and thickness should a concrete pad be for a shed?
For most storage sheds, a 4-inch-thick pad is a common standard; heavier equipment can require a thicker design. The concrete foundation should be poured ½ inch smaller than the building dimensions. For example, a shed measuring 10 by 12 feet needs a pad footprint adjusted to that rule, rather than matching the building’s exact dimensions. The shed’s load and support layout should guide the final specification.
Do sheds or concrete pads require permits in Columbia Borough, Pennsylvania?
Permit and zoning requirements depend on the project and Columbia Borough’s local rules, so review them before excavation. Consider requirements for both the shed and its foundation, including placement and setbacks. Some municipalities require cement pillars, with or without tie-downs, and specify their number and placement. Include any required supports in the site plan before construction so the foundation layout and intended shed location stay aligned.
How to check for underground utilities before pouring a shed pad in Pennsylvania?
Call 811 a few days before installation to have underground utility lines marked. Keep the markings visible and use them when setting the excavation boundary and equipment route. If a marked line crosses the planned footprint, adjust the layout before digging rather than changing it during excavation. Utility markings help identify underground lines, but they don’t replace a clear site plan showing the shed and pad locations.
What drainage and site grading are needed for a concrete shed foundation?
Grade the site so surface water flows away from the pad instead of collecting beside the shed. A concrete surface also needs a drainage direction, without low spots that hold puddles. A gravel perimeter extending 12 inches around the shed can help manage splash and runoff near the walls. Keep downspout discharge away from the foundation, and avoid grading that sends water toward another structure or property.
Concrete pad vs gravel shed base: cost, durability, and pros and cons
Concrete provides a continuous surface, while a gravel base uses compacted stone and may need occasional raking or leveling. Gravel can often be completed in a single day; concrete needs time to cure before the shed is placed. There’s no useful universal cost comparison without project details. Pad dimensions, excavation, site access, drainage work, and reinforcement all affect the scope. Choose based on the shed’s intended use and site conditions.
How long does a concrete shed pad take to install and cure before placing a shed?
On-site work from excavation through pouring and finishing usually takes 1-2 days. For a shed base concrete pad installation in Columbia, PA, schedule shed delivery at least 7 days after the pad is finished. The surface may be walkable within 24-48 hours, but that doesn’t mean it’s ready to support the shed. Coordinate delivery around curing so placement follows the appropriate waiting period.