
The lowest paver isn’t always the real problem. For paver patio leveling and sunken paver repair in Mountville, PA, first find out whether the base, drainage, or edge restraint is contributing to the settlement. A small, isolated area may be lifted and reset, but the repair is unlikely to last if the underlying cause remains.
It’s tempting to add bedding material under a low stone and call the job done. A more reliable approach is to assess the surrounding pavers and drainage first, then use compatible materials and rebuild the base where needed. This guide covers what to look for, the tools and materials needed for a small reset, and when soft ground, widespread settling, or water draining toward a structure points to a larger repair. You’ll learn when a careful DIY fix may help and when the patio needs a more thorough solution.
When Is a Sunken Paver Problem Bigger Than DIY?
A few loose pavers can be reset individually, while broad settlement calls for removing pavers and rebuilding the failed base. Mountville permit requirements depend on project scope and local rules. Reopen the patio only after the work is complete and the reset stones are stable.
-
Check Whether the Dip Reaches the Base
Inspect the settled area and its edges before lifting any stones. A single low paver beside level, firm neighbors may indicate a localized bedding issue. Rocking, wobbling, or clicking pavers can signal settlement below the surface. Look for soft or saturated soil, erosion, voids, and water collecting near the dip.
Check whether the edge restraint has shifted and whether runoff reaches the area. A downspout discharging near the patio edge can add water around the pavers. If several stones have settled or water drains toward a building, treat the issue as more than a surface adjustment. Adding bedding sand alone can leave the underlying cause untouched.
-
Remove Pavers and Inspect the Base
Lift the affected stones carefully and inspect the bedding and aggregate beneath them. For a small settled patch, extend the removal 12-16 inches beyond the dip in every direction. That surrounding surface provides a grade reference when resetting the stones. Before digging or excavating, contact 811 or the local utility-location service to have underground utilities marked.
Remove loose or failed material until the remaining base is firm. Look for wet, soft soil, washout, voids, uneven aggregate, or poor compaction. Check that the edge restraint remains secure. For interlocking concrete pavement, the aggregate base should extend beyond the restraint by at least its own thickness. Widespread failure or recurring water infiltration calls for base correction, not just replacement pavers.
-
Rebuild and Compact the Aggregate Base
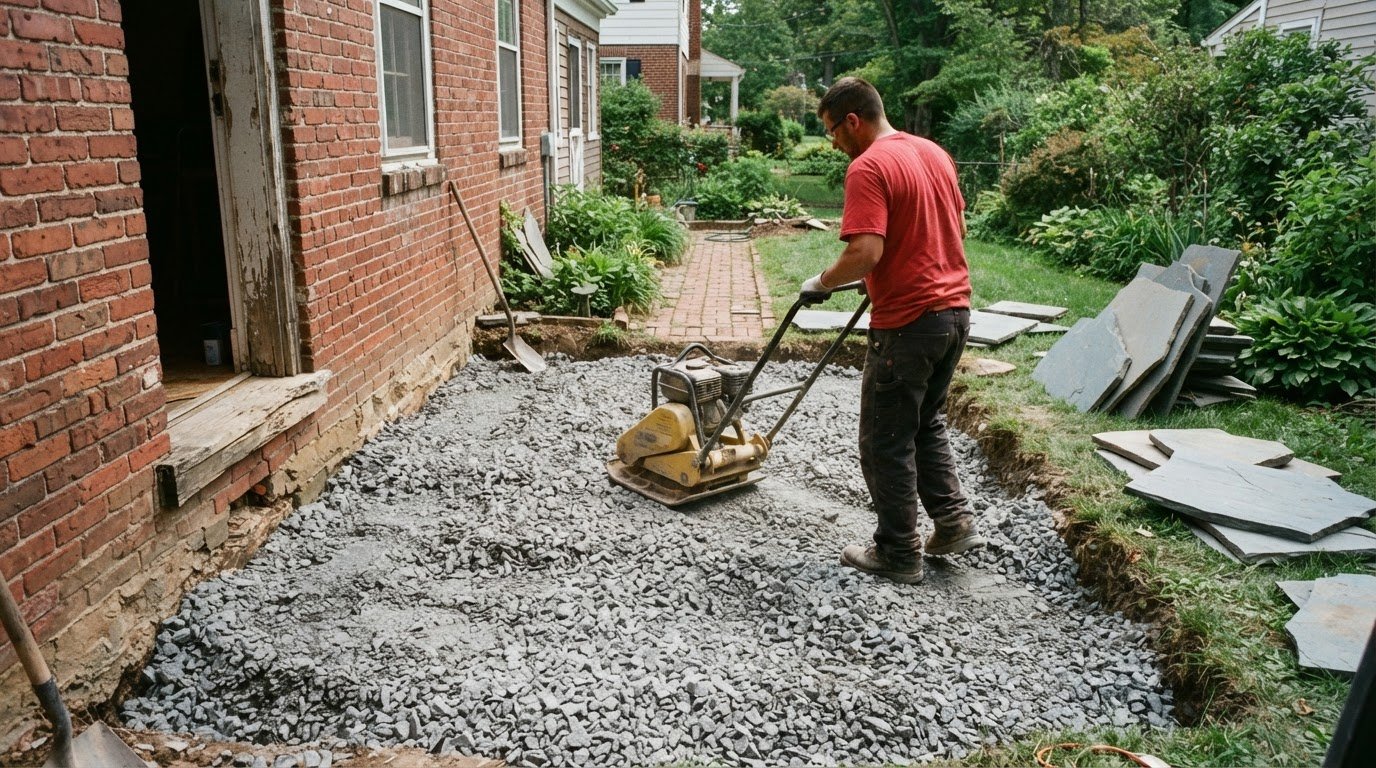
Replace unstable gravel with compactable aggregate suited to the pavement system. When rebuilding with 2A modified stone, add it in lifts of two to three inches and compact each lift before adding more. Rebuild the base evenly, maintaining support across the repair area. Don’t compensate for a failed base by piling excessive bedding sand beneath low pavers.
Restore compatible bedding material and screed it evenly, using the surrounding grade as your reference. Reset the pavers, align their joints, and check that the repaired surface meets adjacent stones without rocking. A few individual pavers need less excavation than a broad settled area; extensive base failure requires a larger rebuild. Keep the patio closed until the stones are stable underfoot.
Use the scale and pattern of settlement to decide whether DIY work is appropriate. Repeated sinking, saturated soil, missing aggregate, or a compromised edge restraint point to underlying conditions that a surface reset won’t fix. A repair plan should identify the likely cause and specify which pavement layers need removal and rebuilding. For broad dips, inspect drainage and base support before replacing the pavers.
Assessing causes of sinking pavers
Trace the pattern before choosing a repair. A dip beside a downspout points to a different cause than a single low stone in an otherwise even patio.
- Map the settled area and compare nearby pavers. Note whether the dip follows a narrow line, spreads across a broad section, or affects one isolated stone. A strip of settlement near a patio edge may indicate a localized support or restraint issue. A wider depression suggests movement may extend below multiple pavers.
- Walk across the affected section and note how each stone responds. Pavers that rock, wobble, or click underfoot can signal settlement. Compare them with stable pavers nearby. If movement continues across several rows, don’t treat each stone as a separate surface defect. The shared pattern can help locate a broader base or support problem.
- Follow water’s path across and around the patio. Check where roof downspouts discharge and whether runoff reaches the paver edge. Look for standing water, washed-out joint material, or soil that stays saturated beside the pavement. Uneven or insufficient soil drainage can contribute to sinking. Water flowing toward a building is also a drainage concern, not simply a low spot to disguise.
- Inspect the patio perimeter and joints for signs of movement. A shifted edge restraint can allow pavers to spread, opening joints and weakening support along the border. Look for a widening gap between the patio and adjacent ground, or a line of stones that has moved outward. Compare that edge with the opposite side; a localized change can help distinguish restraint movement from a general surface dip.
- Consider what lies beneath the pavers before selecting a fix. Excess bedding sand can contribute to sinking, while weak or uneven support may allow stones to settle together. A quick sand top-up can hide the dip without correcting its cause. If the same section settles again, or several signs appear together, assess the underlying layers and nearby water flow.
Record the location of the dip, moving stones, and water paths before planning work. Those observations help define whether the issue is isolated or connected to the wider patio. If the pattern points to a larger repair, discuss the settlement pattern and the affected area.
A paver repair may fail if the cause of settlement remains. Treat diagnosis as part of the repair decision, not a step to skip once the surface looks level. The goal is to address what caused the movement, so the repair is judged by more than its immediate appearance.
Drainage and water infiltration
Prevent repeat settlement by directing runoff away from the patio and keeping the base stable. Proper preparation addresses water movement and support together, rather than hiding a low spot with extra bedding material.
-
Assess Drainage and Water Infiltration
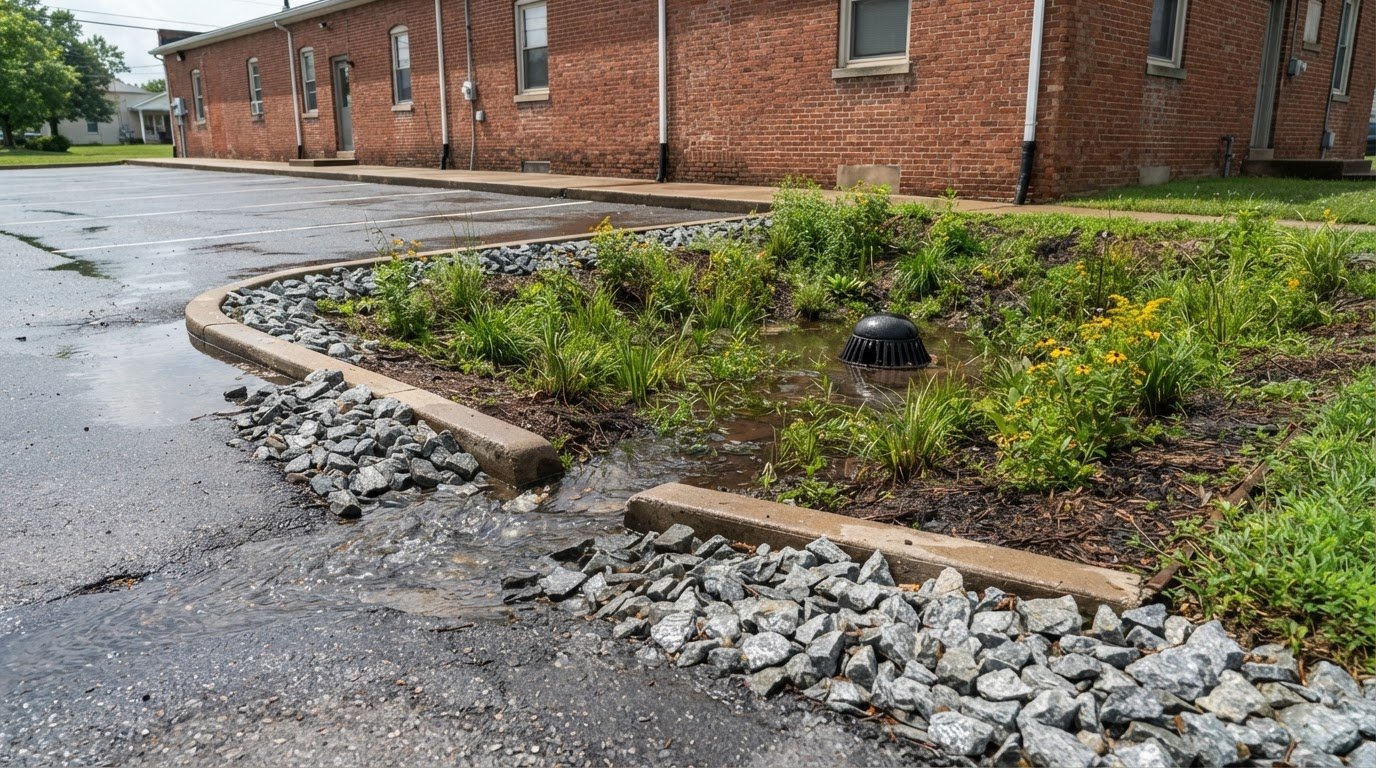
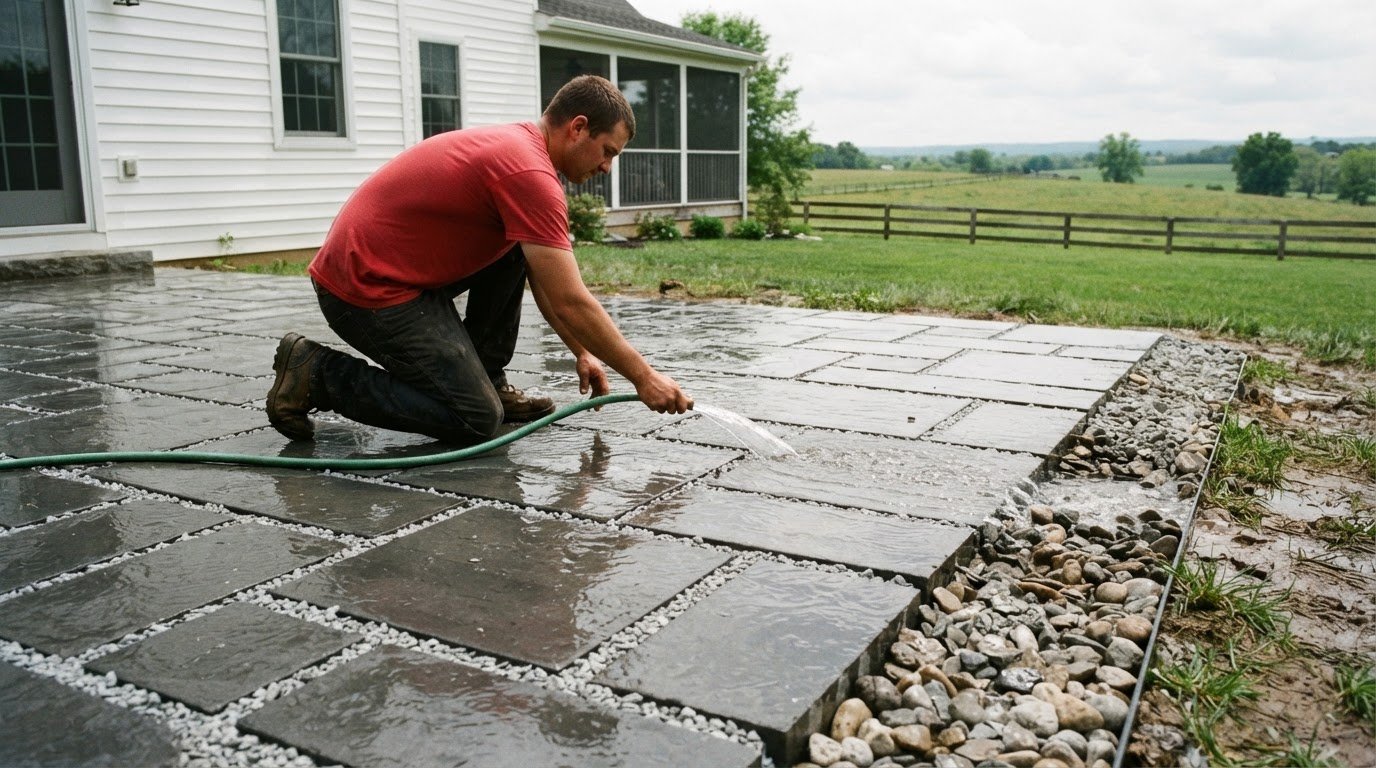
Trace water during or after rain, starting at roof downspouts and ending at the patio edge. A downspout discharging beside the pavers can saturate nearby soil and contribute to settlement. Check for standing water, washed-out joints, and damp ground around the settled area. Sunken pavers can also result from uneven soil drainage, insufficient drainage, or excessive bedding sand.
-
Prepare the Base to Prevent Recurrence
Correct the water path before resetting pavers, so runoff doesn’t keep reaching the same area. Remove unstable aggregate and rebuild support with material compatible with the pavement system. Compact the base evenly, then use compatible bedding material rather than excess sand to raise low stones. For interlocking concrete pavement, extend the aggregate base beyond the edge restraint by at least the base’s own thickness.
- Check the patio’s slope and where surface water travels. Follow the route from the house wall across the pavers to the lawn or drainage outlet. If water pools beside a joint, inspect the grade and base below it. If water flows toward a building, treat it as a drainage problem that needs professional attention, not a cosmetic paver adjustment.
- Inspect the perimeter after tracing runoff. Look for gaps where water can enter between the pavers and surrounding soil, especially beside a downspout or low lawn edge. Water entering these openings can carry fine material away and leave voids beneath the stones. Restore edge support and address the water source before closing the repair area.
- Connect the drainage correction to the base repair. Replacing gravel without addressing persistent water infiltration leaves the same conditions in place. Redirecting runoff won’t stabilize pavers over loose or eroded aggregate, either. Match the fix to the evidence: correct the discharge path, remove failed material, rebuild firm support, and reset the stones to meet the existing grade.
For a patio where runoff continues toward the house or undermines the edge, discuss the drainage and settlement issue before resetting the affected pavers.
Before completing a paver repair, inspect the full support area, not just the visible depression. Check for soft or saturated soil, voids, erosion, uneven or poorly compacted aggregate, inadequate base thickness, water infiltration, and edge-restraint problems. These conditions can occur beneath or beside the affected stones, so include the surrounding base and perimeter in your assessment. A surface that looks level after resetting may still need work if the supporting material is uneven or the edge restraint is compromised.
Use the inspection to determine whether the repair addresses all the conditions found, not just the settled pavers. Note where the soil is soft or saturated, aggregate is uneven or poorly compacted, or voids, erosion, and inadequate base thickness are evident. Check for water infiltration and edge-restraint problems, too. If any of these issues remain, the repair may leave the same support concerns in place. Include the inspection in the repair, along with correcting runoff and rebuilding stable support where needed.
Lifting and resetting pavers in a small settled area
Reset a small patch only after identifying the cause and confirming that surrounding pavers remain stable. Work methodically, using adjacent stones as references for the patio’s existing grade and joint pattern.
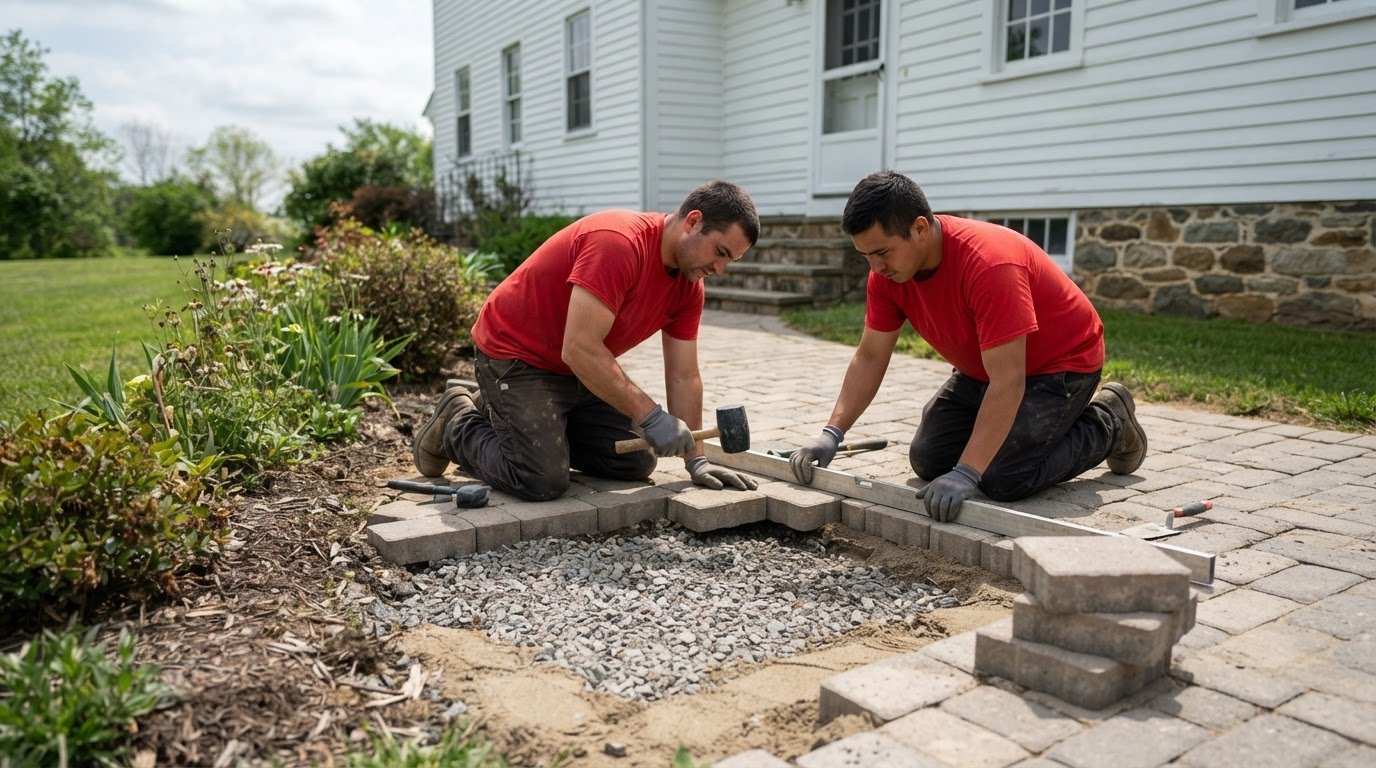
- Mark the settled area and note the direction of the joints before moving stones. Lift pavers 12-16 inches beyond the sunken area in every direction, creating a wider repair zone and preserving a reference for the grade. Photographing the pattern can help you return each paver to its original position, especially where several sizes or shapes meet.
- Remove each paver carefully with a paver puller or hand tools that won’t chip its edges. Stack the stones in order beside the repair, keeping their original orientation visible. If a stone resists lifting, loosen the joint material around it rather than forcing it upward. A chipped edge can make the reset uneven and leave a visible gap.
- Expose the bedding layer and inspect the base before adding material. As you remove bedding sand, leave a few inches around the perimeter as a reference for the original level. Check whether the exposed aggregate feels firm and even. If you find soft soil, washout, or loose base material, stop the surface reset and address the failed support first.
- Correct the support before restoring the bedding layer. For a shallow, localized adjustment over a sound base, screed compatible bedding material evenly across the repair. Don’t use a thick pile of sand to compensate for a low base. If the aggregate has settled or eroded, rebuild and compact that layer instead of covering the defect.
- Reset the pavers in their original order, following the existing joint lines and neighboring stones. Press each paver into the bedding, then compare its height with the surrounding surface using a straightedge. Adjust individual stones while the bedding remains workable. Maintain the patio’s established grade so the repaired area doesn’t create a new low point or obstruct runoff.
- Check the finished patch by walking across each reset stone and watching for rocking or clicking. Look across the joints from more than one direction; a raised edge may be easier to spot from the side. Refill joints with compatible material and confirm that the repaired pavers sit flush with adjacent stones. If movement remains, reopen the affected spot and reassess its support.
Tools and materials for paver repair
There’s no single average per-square-foot figure for leveling a paver patio in Mountville. Repair scope depends on the affected area, base condition, drainage work, edge restraint, materials, and access. Snappy Landscaping provides a free estimate, with pricing varying based on the property and work required. For paver patio leveling and sunken paver repair in Mountville, PA, the scope depends on what the exposed layers reveal.
You can reset a small area yourself when surrounding stones remain stable and the base needs only a localized correction. Useful tools include a paver puller, straightedge, shovel, screed board, hand tamper, and broom, along with compatible bedding material and aggregate.
- Gather tools before lifting the stones. A paver puller helps remove tightly fitted pavers with less risk of edge damage than prying blindly. Keep a flat shovel nearby for clearing bedding material, and use a straightedge to compare the repaired surface with adjacent pavers.
- Choose base material to match the pavement system. For a base rebuild, add 2A modified stone in lifts of two to three inches, compacting each lift. A hand tamper suits a small repair area; broader rebuilding calls for suitable compaction equipment.
- Prepare compatible bedding material and a screed board for the setting layer. The bedding material should suit the pavement system. Don’t use extra sand to replace failed aggregate; a weak or uneven base can let reset stones sink again.
- Use a level or straightedge to compare the repair with the patio’s established grade. Check the surface in several directions. A paver sitting high at one edge can create a trip point or disrupt the existing drainage path.
- Keep a stiff broom ready to sweep joint material into the gaps after resetting the pavers. Then check for open joints and stones that rock underfoot. If the base remains unstable, stop rather than hiding movement with more bedding sand.
- Match your tools to the repair scope. One settled paver over firm support may need careful lifting, a bedding adjustment, and a straightedge check. A broad dip, saturated soil, or eroded aggregate requires excavation and base rebuilding. A puller and broom alone won’t solve it.
A paver patio leveling and sunken paver repair plan in Mountville, PA should match the actual failure, not just the visible dip. Use this checklist to decide whether the repair needs more than surface tools. For help assessing a larger reset, request a patio repair quote.
There is no single average cost per square foot. Pricing varies based on the property and repair scope, and Snappy Landscaping provides a free estimate.
Snappy Landscaping: Custom Patio Installation
Snappy Landscaping is a practical next step when settlement affects a broad patio area, keeps returning, or involves drainage and edge support. A small, isolated dip over a stable base may suit a careful DIY reset. Widespread movement calls for a closer look at the patio layout, base, and surrounding water flow.
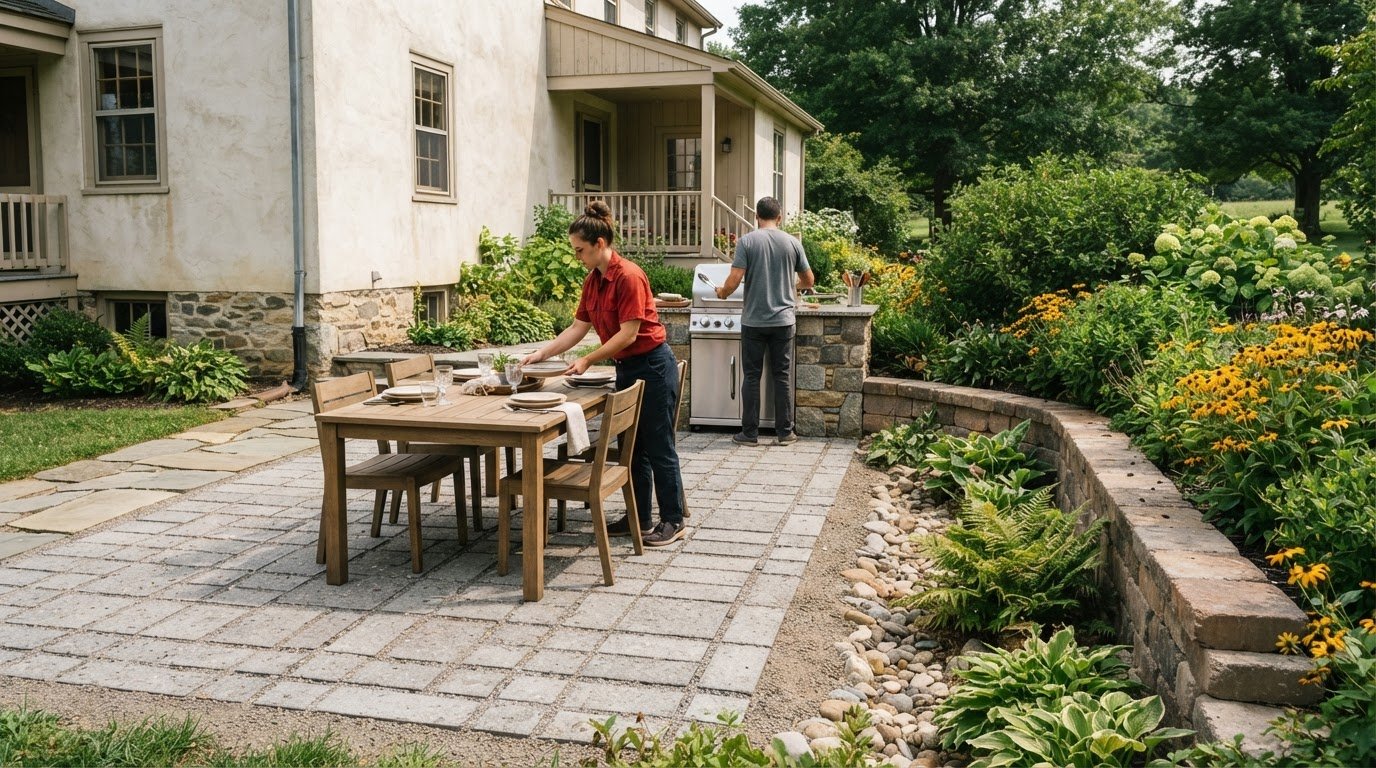
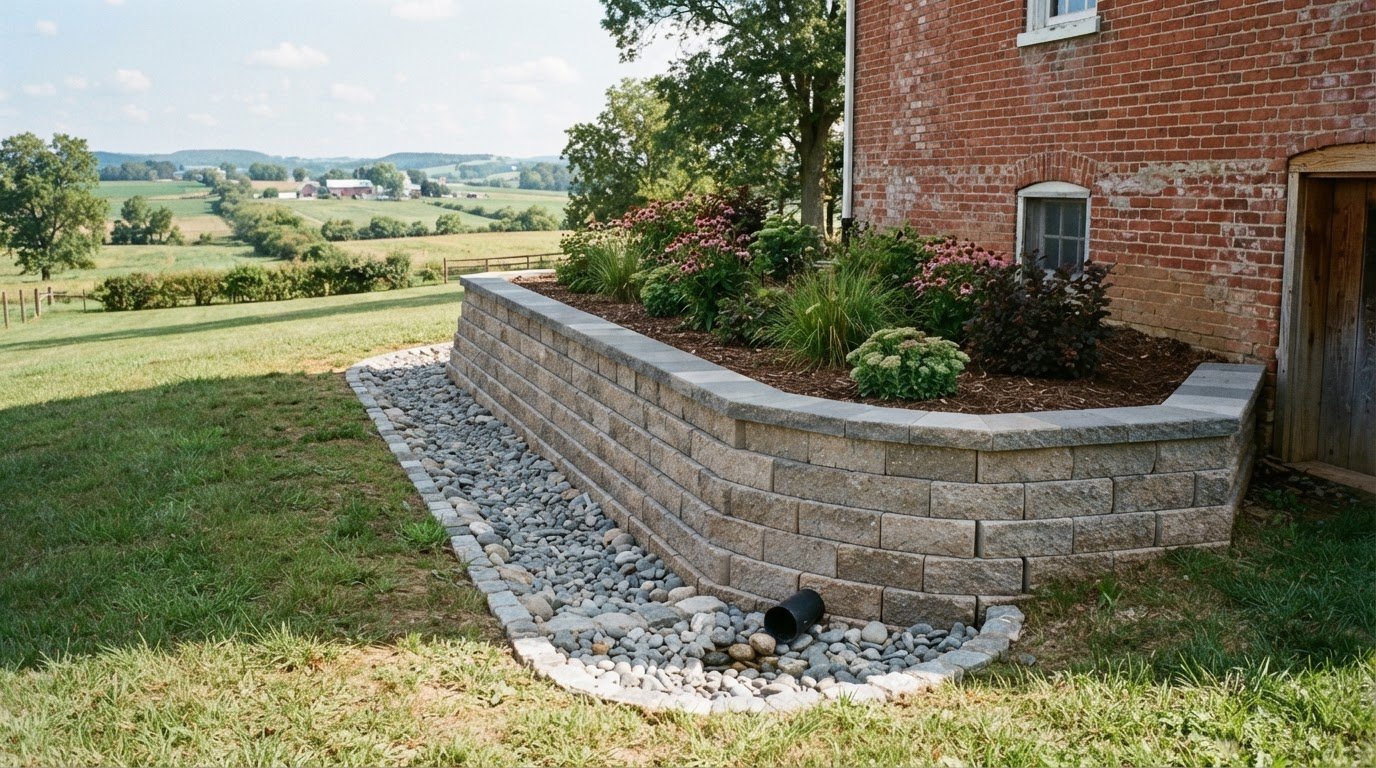
For projects that need a larger hardscape solution, Snappy Landscaping provides custom patio installation, along with drainage solutions and retaining wall construction. These services can address how a patio fits its surrounding landscape and directs water.
If the settled area needs more than a small reset, contact Snappy Landscaping to discuss the patio.
Make a Clear Plan for Your Patio
Choose the next step based on how you want to use the space. If a small patch is stable after resetting, monitor how it performs through changing weather. If the patio’s layout or use no longer suits your outdoor space, consider whether a broader redesign makes more sense than repeated spot repairs.
A plan for paver patio leveling and sunken paver repair in Mountville, PA can also account for how the patio connects with nearby walkways, retaining walls, and drainage. Think about the result you need: a stable seating area, a clearer route across the yard, or a hardscape layout that works better for your property. A focused conversation about those priorities helps shape the right scope of work.
Contact Snappy Landscaping to discuss your patio and decide on a practical next step. A well-planned repair can put your outdoor space back on track.
Frequently Asked Questions
How do you fix a sinking patio?
Fix a sinking patio by correcting the cause of movement, then restoring a stable, even surface. If only a small patch has shifted and neighboring pavers remain firm, reset that section. If a larger area has moved, the repair may require broader base work. Persistent water near the patio also calls for drainage correction, or the same section may settle again.
How do you keep edging pavers from sinking?
Keep edging pavers stable by supporting the outside edge and preventing soil or base material from washing away. Check for gaps between the pavers and surrounding ground, especially where the lawn meets the patio. If edging stones have spread outward, resetting them without restoring their support can leave the border loose again. Prevent adjacent soil from directing runoff into the edge joints.
Why Do Concrete Pavers Sink or Become Uneven?
Concrete pavers sink when the material beneath them loses even support. A void under one stone can make it dip, while soft soil or uneven aggregate can affect a wider section. For example, a paver that rocks while nearby stones remain level may have a localized support issue. A row that slopes together suggests the problem may extend beneath several stones.
What causes paver patios to sink or become uneven?
Water movement, weak support, excess bedding sand, and a shifted edge restraint can all contribute to uneven pavers. Consider a downspout beside a patio: repeated runoff can saturate nearby ground or carry material from beneath the surface. If settlement appears beside the discharge point, address the water path as well as the pavers. A surface adjustment alone won’t correct ongoing infiltration.
How do professionals level and repair sunken pavers?
Professionals assess the affected area, identify the likely cause, and determine which layers need rebuilding. For broader patio work, Snappy Landscaping provides custom patio installation. Its service areas are: Lancaster, PA; Mountville, PA; and Columbia, PA. The team is licensed, insured, and background-checked for your peace of mind.
How long does paver patio leveling take, and when can the patio be used again?
Use the patio again once the work is complete and the reset stones are stable underfoot.